Showing posts with label Year-Round. Show all posts

Mar 25, 2014

Rigatoni with Garlicky White Beans


So here we are several days into spring and I'm still cooking and craving winter foods. And why is that, you may very well ask? Because Mother Nature has decided to ignore the astronomical calendar and instead snow is predicted tonight. That's right, snow. At the end of March.

But instead of whining (or, at least to distract me from it), I've gotten back into the kitchen and revisited a delicious pasta and beans dish I adapted from Smitten Kitchen two months ago but never posted. This was the perfect occasion to remake it, perfect the pictures and write it up! This recipe is hearty and infinitely adaptable. You can use virtually any kind of pasta and any kind of bean. It's a great change of pace from tomato sauces and, even though it's vegan, it's definitely stick-to-your-ribs food. You can serve it with garlic-rosemary oil (instructions below), as we did the first night, but it's also delicious as is, reheated (or not) for leftovers. You can also swirl in a spoonful of pesto, homemade or from a jar. If you are eating peppers, I recommend a dash of red pepper flakes. And if you do want some meat, cook up an Italian sausage (sweet or spicy depending on your mood), chop it up and mix it in with the pasta. Leftovers also make a phenomenal soup. Bon appetit!

Pasta with Garlicky White Beans
adapted from Smitten Kitchen

In a food processor, chop together onion, carrots, celery, 5 cloves garlic, parsley and pepper. (Be careful -- it goes quickly from chopped to pureed.). In a heavy pot over medium heat, heat 1/4 cup olive oil. Add chopped vegetables and sprinkle with salt. Cook 10 minutes, stirring occasionally so they color but don't burn or stick to the bottom of the pot. Add tomato paste, stir, and cook 1 minute. Add water or vegetable broth and scrape up any browned bits from the bottom of the pot. Simmer 5 minutes.

Add beans and 2 other cups water or vegetable broth. Simmer 15 minutes.

While beans cook, boil water and cook rigatoni according to package directions. Drain well, reserving 1/2 cup cooking liquid.

Once beans are cooked and tasty, take out 1 cup and add it, along with 1/2 cup pasta cooking liquid, into food processor (no need to clean it in between uses!). Puree, then stir back into beans along with rigatoni. Mix well.

While waiting for everything to come together, remove rosemary leaves from stalk and crush remaining 3 cloves garlic. In a small saucepan over medium-low heat, heat final 1/4 cup olive oil. Add garlic and rosemary and cook just until starting to color, 2 minutes. Pour hot oil over rigatoni in bowls. Enjoy!

Links:

Feb 23, 2014

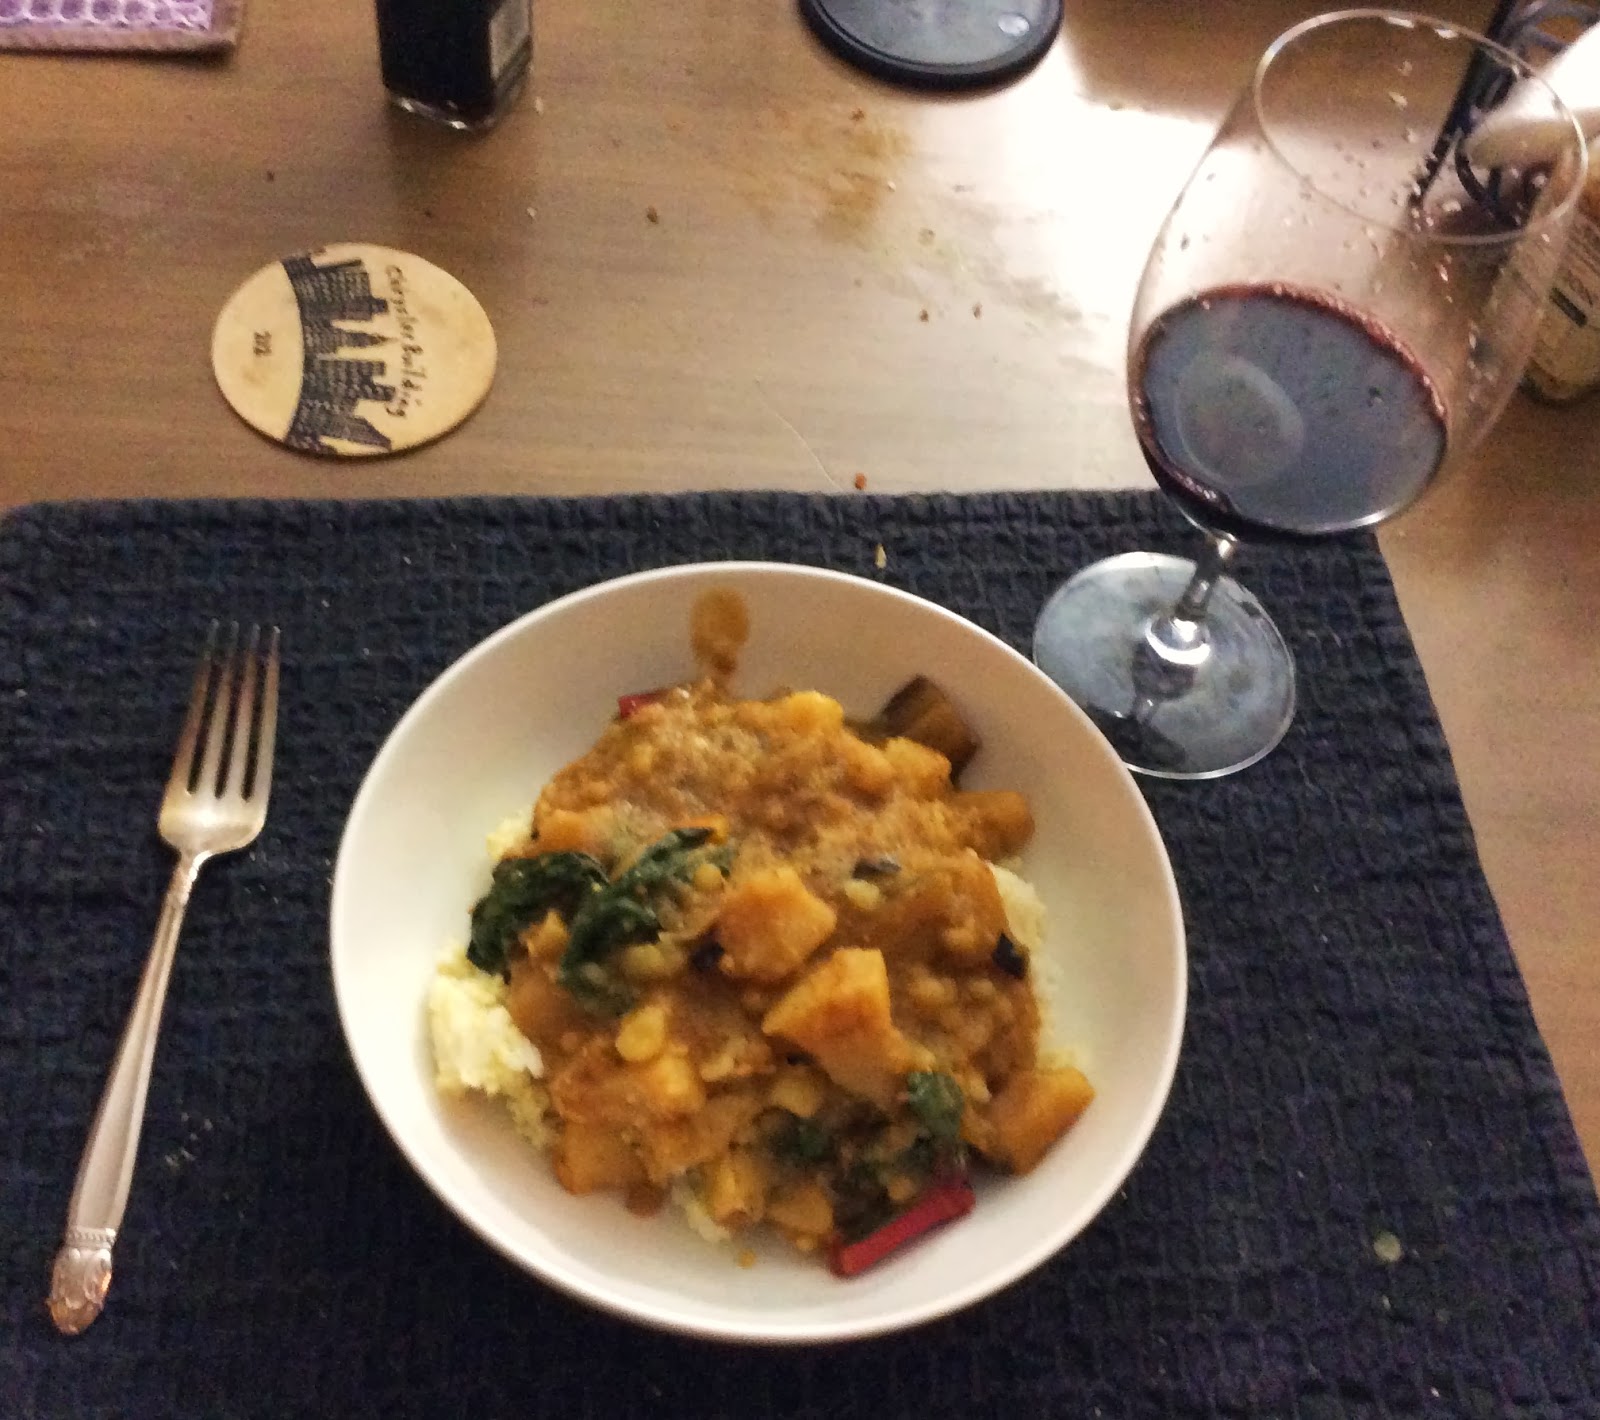
Chard, Red Lentil & Potato Slow Cooker Soup


I don't know what the weather's been like where you are, but here in NYC, this winter has been a BEAST. Every time we think we're getting a respite (like today when it's sunny and in the 50's), it lasts for a couple of days and then, just when we're starting to relax, we're hit with another polar vortex and temperatures drop down thirty degrees overnight and stay that way for another week.

My favorite season is summer and I really do not handle cold weather well. So my first inclination at times like these is to hibernate and not leave the house (or my bed) again until spring. Sadly, that's not an option. But I can make soups -- warming, delicious, vegetable-filled, stick-to-your ribs soups, to be exact. Like this one that I adapted from Oh My Veggies, a fabulous vegetarian food blog that I just recently stumbled upon.

I had an enormous bunch of chard that was starting to wilt and so I wanted an easy way to use it up but I needed to be in and out of the house all day. However, I still wanted to come home to a hot meal. That, my friends, is a perfect time to dust off your slow cooker, fill it up and forget about it while you do sundry other things like go to work, defrost yourself and do laundry. Ah, laundry. Because the more clothes you have to wear, the more you have to wash (yet another reason to prefer summer).

But this soup only dirties two dishes -- your slow cooker and a skillet to saute the aromatics. And if you're lucky (and I am), both of those can go into the dishwasher. So, really, what have you got to lose? If you have the extra time, soak the lentils overnight with some kombu (or, if you're really good about planning ahead, even do it for a few days so they can sprout). If not, no worries -- they'll be just as delicious. I prefer red lentils for this soup since they melt down into the broth, making it into more of a stew. For extra protein, serve with chicken or, to make it heartier, over rice. Turn leftovers into lasagna. Bon appetit!

I'm making this my submission for Wellness Weekend, hosted and created by Ricki Heller!


Chard, Lentil & Potato Slow Cooker Soup
adapted from Oh My Veggies

If you have time, soak lentils and kombu in a clean bowl with enough cold water to cover them by several inches, for anywhere from 1 hour to 3 days. If going the sprouting route, change water 3 times/day.

Drain lentils and set aside. Heat oil in a large skillet over medium-low heat. Add onion, celery, carrots, garlic and Swiss chard stems and cook, covered, 8 minutes.

Place cooked aromatics, lentils, potatoes, broth and liquid aminos into slow cooker. Stir so everything is nicely mixed up together and cook 8 hours on low.

When cooked, stir in Swiss chard leaves and raise slow cooker temperature to high. Cover and cook an additional 5-10 minutes until chard is soft and has integrated into the soup. Serve, topped with salt and pepper. Enjoy!

Links:

Aug 6, 2013

Rosemary Chicken with Sweet Potatoes


Sometimes, the best-laid plans just don't work out quite as well as you had hoped. Take today's recipe, for example. The original recipe featured flavorful chicken cooked in the slow cooker on a bed of onions and Yukon Gold potatoes. Sounds delicious, no? I figured I would eat the chicken and the vegetarian and I would split the onions and potatoes.

Fast forward several months, however, and I'm now avoiding white potatoes. But no problem; I can still have sweet potatoes. That won't change things too much; the vegetarian and I love sweet potatoes! So I loaded up the slow cooker and set it to cook for 6 hours.

Then life got in the way and I decided to give everything another two hours. But we still weren't ready to eat (we were rehearsing at home that day) so the slow cooker flipped over into its "warm" mode. Several hours later, I finally dished everything up, along with some Rice Salad with Cucumber and Dill Dressing, and, starving, we sat down to eat.

So how was it? Truth be told, it wasn't very good. The chicken was certainly tender but everything was SO greasy! And the sweet potatoes and onions had melted together (along with the chicken juice, which normally doesn't bother the vegetarian but this time, well, it just wasn't very good) into a sweet and gooey mess. Yuck!

So what did we do? I salvaged what I could. The chicken (drained and stored without its greasy liquid) ended up making many meals for the next week. Reheated (or cut up cold to form salads), it provided a delightful protein addition. And the vegetables? I kept planning to make them into a soup of some sort but, truthfully, I never had the heart to so I eventually threw them out.

Now, you may be wondering why I'm even including this recipe? Well, first of all, the flavors were really very good! I would definitely try this again, but with a few adjustments:
What else would you do differently? Do you ever have a great recipe idea, only to have it not come out exactly (or at all) as planned? Let us know in the comments!

Rosemary Chicken with Sweet Potatoes
adapted from Recipe.com

Rinse chicken, defat as best you can, and pat dry. In a large skillet over medium-high heat, heat olive oil. Add chicken (you may need to do this in batches, depending on the size of your skillet) and brown, 1-2 minutes per side.

Place sweet potatoes, onion and garlic in the bottom of your slow cooker. Top with chicken. In a small bowl, whisk together pomegranate juice, lemon juice potato starch, rosemary, juniper berries and black pepper. When well combined, pour over chicken. Cover and cook on low for 6 hours. Enjoy!

Aug 2, 2013

Peppery Breakfast Wrap

I get bored easily. This doesn't mean that I can't watch long plays or movies or read long books -- quite the opposite, actually, if the piece is enthralling enough. No -- it's the repetition I can't take. I don't like doing the same thing every day. Nor do I like eating the same thing every day. (The vegetarian, on the other hand, pretty much subsisted on the same 3-5 meals his entire life until we moved in together.) Even as a child, I was never content with having a bowl of cereal every day for breakfast. That might work 1-2 days a week but, after that, I would just pick at it until my indulgent mother got the hint and provided me with something else.


Now that I've made the commitment to my health to have breakfast every day (and now that cereal is off the table for me), I've had to rack my brains to come up with interesting breakfasts that I can make in the mornings that will be protein-rich, healthy and not too time-consuming. When in doubt, I just fry an egg since that takes almost no time and I can pretty much do it in my sleep.

When I get bored, I've found the best thing is to add some vegetables. This also helps in the neverending quest to eat all the produce I buy with the very best of intentions but which always seems to be just a little bit too much for two people to eat. So now I base my breakfasts around whatever vegetable is "on its way out".

This wrap, however, is one of those wonderful egg dishes that can also qualify as "breakfast for dinner". In fact, I made it for our last Monthly Cooking Adventure and everyone devoured them! It was also very easy for entertaining -- I set everything up like a buffet so that guests could make their own wraps, perfectly suiting them to their tastes. We also made rice and chickpeas and some sauteed yellow squash (see what I mean about buying too many vegetables?). The recipe below is for one person; just multiply it by however many people you're serving breakfast to. Bon appetit!

Peppery Breakfast Wrap
adapted from The Skinny Rules

Over medium heat, heat olive oil in a skillet big enough to hold all your eggs. Add arugula and cook 2 minutes, until wilted. Meanwhile, scramble eggs in a bowl. Season well with plenty of black pepper.

Add eggs to pan, lower heat and scramble (I recommend a plastic whisk so you won't scratch your pan) until they're to your taste. Remove from heat and spoon into tortilla. Roll up and eat!

Links:

Jul 5, 2013

Garlic Jelly


One of the most exciting (and frustrating!) parts of going sugar-free is adapting tried-and-true recipes and techniques that have always relied on sugar but, instead, finding new ways of making them without. Case in point: jelly. Always looking for new ways to go "back to basics" with my cooking, this month I picked up a used copy of Blue Ribbon Preserves which is chock-full of recipes for jams, jellies, marmalades and even some sauces, pickles and vinegars!

Of course, being the contrary person I am, the first recipe from the book I decided to tackle was a garlic jelly, made with lots of sugar and white wine. Why didn't I find this recipe back when I was eating everything? I asked myself and the vegetarian. He shrugged, wondering instead what exactly we would do with garlic jelly. I decided to focus first on making it and worry later about how to use it.

The easy substitution came first: InnergyBiotic instead of the white wine. InnergyBiotic is a fermented probiotic drink made by Body Ecology that has a slightly sour taste straight but, when cooked, I've found it to be an excellent wine substitute.

Now came the hard part, however: substituting the sugar. Sugar, I found out from my research, is what makes pectin solidify. You can make all-fruit jellies without it but garlic doesn't have enough natural sugar to act the same way. I ended up using a no-sugar needed pectin, which, true to its name, means it doesn't require sugar to gel. This also meant that I could keep my jelly savory rather than sweet. We did use a mix of apple and passion fruit juices to bring in some sweetness and help the jelly gel.

And how did we use it? Lots of ways! We omnivores had it with lamb loin chops. We also swirled it into sun-dried tomato risotto and have now made two salad dressings with it. We even spread it on toast! Bon appetit.


Garlic Jelly
adapted from Blue Ribbon Preserves


Heat vinegar and garlic in a saucepan over medium heat. Bring to a boil, then reduce to a simmer, cover and cook 15 minutes. Remove from heat. When cool enough to handle, pour into a clean glass jar and let rest, covered, at room temperature for 24 hours.

Place a fine-meshed sieve over a bowl. Pour in garlic vinegar. Throw out any solids in the sieve (like the garlic slices). Rinse sieve and line with 2 layers clean, damp cheesecloth 2 times, rinsing the cheesecloth out each time. Now line the sieve with 2 layers of paper coffee filters and strain vinegar again. Pour into a clean glass jar and let stand, covered, 3 hours.

Ladle vinegar into a bowl. Discard any sediment left at the bottom. Clean your sieve and place it over a clean bowl. Line it with 2 layers of clean paper coffee filters and strain the vinegar one last time. Be patient; the vinegar might take some time to travel through all the layers. Let it take its time. We had about 2 cups of vinegar at this point. 

In a fairly large pan, over medium heat, combine vinegar, InnergyBiotic and calcium powder. Stir until powder has dissolved, then bring to a boil. Add apple juice, passion fruit juice and pectin. Stir until pectin is dissolved, then bring mixture back to a boil. Stir for 1 minute. Remove pan from heat.

Skim off any foam from the top of the pot. Now you have a choice -- if you're going to can (I chickened out), do so while the jelly is still hot. If not, allow it to cool down a little, then ladle into a clean glass jar (I used a big, thick mason jar) and allow to come to room temperature before either using or storing in the refrigerator where it will keep for at least 1 week. As it cools, the pectin will solidify so don't worry if it's not the perfect consistency when you first spoon it out of the pot. Enjoy!

Links:

May 6, 2013

Mushroom & Leek Bread Pudding

I spent my junior year of college abroad in Paris, France. For the first time, I was in charge of my own meals, cooking dinner around 5 nights a week. Much to my surprise, I started coming up with some wonderful creations and, wanting to remember the recipes, I started blogging. My blog was the now-defunct Noshes, Thoughts & Reves.

When the vegetarian and I started this blog, it was for several reasons. One was to bring us closer together, to create a way in which we could become excited about food together. It was also a way for me to share my own triumphs and tribulations of cooking mostly vegetarian with a wider audience. In the back of my mind, I think I imagined myself eventually becoming an occasional meat-eater myself, with virtually all my cooking becoming sustainable and vegetarian.

When I adopted the Body Ecology Diet, my food needs changed again and I adapted our diets to become gluten-free and sugar-free. At first, I made a point of making meat or fish several times a week but I slowly got tired of putting so much effort into a meal that only the two of us were eating and, mixed with all the reading I do about why vegetarianism is better, our kitchen produced more and more vegetarian meals.

Sadly, a year after starting the Body Ecology Diet I still have a compromised immune system and tire easily. Last month, I took the inevitable next step and consulted a holistic doctor. He explained that I'm suffering from adrenal fatigue, so I've been focusing more on being good to my body and resting. I'm also taking homeopathic supplements. I am continuing to avoid sugar and gluten, although I can now have sprouted grains. I can't have dairy, potatoes, peppers or eggplant. And I have to eat animal protein at every meal.

So what has this meant for our home? I've started cooking fish and meat again. Not all kinds -- I'm avoiding pork, beef and processed meats -- but it's definitely been a change. We add veggie burgers for the vegetarian to many meals and share a vegetable dish. And I've been eating a lot of eggs. It's taken adjustments but so far it's fun. It means I have to plan meals farther in advance than I was wont to do. And I really miss cheese.

I made this bread pudding for our last dinner party. I adapted it from Ina Garten's Barefoot Contessa Foolproof and I think it's a keeper. We served it with Accidental Turkey and Ratatouille with Penne. Bon appetit!

Mushroom & Leek Bread Pudding
inspired by Barefoot Contessa Foolproof

Preheat oven to 350 F. Spread bread cubes out on a baking pan and bake 15 minutes. It's ok if they get a little browned. Set aside.

Meanwhile, over medium heat, heat oils in a large skillet. Add leeks and cook 8 minutes. Stir in mushrooms, basil, Cocobiotic, spice blend and pepper. Cook 10 minutes, stirring occasionally. Remove from heat and stir in parsley.

In a large bowl, whisk together eggs, coconut milk and chicken stock. Add bread cubes and mushrooms, stirring everything together. Push bread cubes down into liquid so they're as submerged as possible. Set aside for 30 minutes so bread can absorb the liquid. Pour into a 13 x 9 baking dish and bake 45 minutes until custard is set. Serve hot, warm or at room temperature.

Links:

Mar 7, 2013

Crusty Spinach, Feta and Sun-Dried Tomato Bread Rolls

I know what you're thinking. Have I gone off my rocker? What happened to being gluten-free? That, dear readers, is the beauty of these rolls -- they are gluten-free. And sugar-free. But they don't taste it. The vegetarian's been heating them up for after-work snacks and every time I bite into one my first thought is: "I'm cheating; I'm so going to regret this." But of course I'm not. And I don't.

They're also my most successful venture into gluten-free (and yeast) baking to date! How can it contain yeast and still be sugar-free? The sun-dried tomatoes have enough sugar that the yeast feeds off of them without any sugar necessary! And a successful gluten-free free adaptation of a "normal" recipe that I had bookmarked but couldn't imagine being able to try. What recipe, you ask? This one from Sass & Veracity, a blog I happened to stumble upon while on my endless search on how to sneak more cooking greens (like spinach) into our diet.

And these fit the bill perfectly. Have them plain, as a snack, with a plate of Burrata & Tomatoes, an Asparagus Tortilla, Sungold Tomato & Cannellini Bean Dip or Watermelon, Feta and Arugula Salad. And of course a glass of Research Cab. Bon appetit!

Crusty Spinach, Feta and Sun-Dried Tomato Bread Rolls
adapted from Sass & Veracity

Pour two inches cold water into a pot and add spinach. Place heat on high and steam 5-10 minutes, until spinach is wilted. Remove and drain. When cool, wrap spinach in a clean dishtowel and ring out excess moisture. Set aside.

In a large bowl, stir together yeast, salt, spinach, feta and tomatoes. Place egg whites into a measuring cup and add lukewarm water until you have 3 cups of liquid. Stir into the spinach mixture. Add flour one cup at a time and stir gently with a wooden spoon just until combined. Cover bowl with a clean dishtowel and place in a cold, turned-off oven for 2 hours to rise (this is always the scary part for me!).

After dough has risen (phew!), prepare your baking pan: place a sheet of parchment paper on it and sprinkle with cornmeal. Now divide your dough into ten even-sized pieces. The dough will be a little sticky but easy to work with (at least mine was). If you need to, sprinkle with a little bit of extra flour. Roll (in your hands) into a ball, then place on your prepared baking pan. Repeat nine more times with the rest of the dough. Place in the oven for 30 minutes to rest.

Remove pan from oven and allow to rest an additional 30 minutes. Place a tray (I used a roasting dish) on the bottom rack of the oven and preheat to 450F.

After dough has rested sufficiently, dust the tops of the rolls with flour and snip an X into the top of each with clean kitchen scissors. Slide the baking pan with the dough into the oven, on an upper shelf. Fill up a measuring cup (or two) with VERY hot water -- as hot as your tap can get. Pour this water into the dish at the bottom of the oven. Close the door quickly (you're creating steam to help the rolls cook evenly. Bake 20 minutes. Cool before serving. Enjoy!

Links:

Mar 1, 2013

BED: Trout (or White Beans) with South Indian Spices


Is it March already? Doesn't February always disappear just when you've gotten comfortable with it? Or is that just me?

Anyway, I have a wonderful recipe to share with you today (complete with a vegetarian adaptation that uses the same spices) and, if you're making the trout component, an even more exciting cooking technique!

Back when I regularly cooked omnivore food, fish was one of my specialties. Fast and easy to cook, I could always adjust my seasonings to suit my mood. I realized this month, as I planned the menu for our monthly cooking adventure that I hadn't made fish in quite a while. So I resolved that it was time that changed. Wanting to combat the winter doldrums I've been in, I decided I wanted this fish to have a bite ... and lots of garlic. Interesting spices always make me think of Indian food so I went back to The 4-Hour Chef and adapted his recipe for Trout with South Indian Spices, including a wonderful Ginger-Garlic Paste made from scratch. (There's still more of the paste in our fridge -- any suggestions on how else we should use it?)


As for the vegetarian, he loves these flavorings as well, so, while I made the fish, I tossed a couple of cans of white beans with the same marinade ingredients and baked them in the same oven for the same amount of time. Formal directions are below. We also served this with basmati rice and gremolata and had an amazing whiskey butterscotch pudding for dessert. A Falanghina was a delicious accompaniment. à®®à®•ிà®´்ந்து உண்ணுà®™்கள் [bon appetit]!

Trout (or White Beans) with South Indian Spices
inspired by The 4-Hour Chef

Combine garlic, ginger and water in a cup or mixing bowl. Using your immersion blender, process until they've all combined into a smooth paste.

Combine 1 1/2 tablespoons ginger-garlic paste, vinegar, turmeric and salt in a bowl.

If making the fish, place it in a heavy ziploc plastic bag and add the marinade, massaging it well into the flesh. Marinate at least 8 hours.

If making the beans, add them to the bowl of seasonings, stir well and let sit for at least 15 minutes so marinade can permeate.

Preheat oven to 400F.

If making the fish: Remove it from the bag and place on a plate, flesh-side up. Now comes the fun part (I made the vegetarian stay in the other room while I did this): insert a skewer through the fish's mouth and rest its length along the fish's body. Balance 3 skewers along the width of a baking pan. Gently flip the fish over and rest its skewer on the other 3. Repeat with the second fish (and any others that you want to make; you may need to use more than one pan, depending on the size of your fish and your pans).

If making the beans: Place beans and marinade in a baking dish and stir well. I used a loaf pan.

Place beans and/or fish in the oven and bake 12 minutes. Serve with the lime juice drizzled on top. Enjoy!

Links:

Feb 1, 2013

Garlic Aioli


I've been going back and forth with myself as to whether or not I wanted to post this recipe. Usually when I'm conflicted about a recipe, it's because, while it tasted delicious, the meatballs fell apart or it just wasn't very photogenic. In this case, however, the technique was brilliant but the taste wasn't quite what I wanted it to be.

That said, in the spirit of total honesty (and because this really was the best aioli-making technique I've ever used), I'm sharing it with you and am open to any suggestions from you, dear readers, as to how to make the taste as good as the technique.

So what's the trick, you ask? Using an Immersion Blender. I learned this from The 4-Hour Chef, a new "how-to cook" book that borders on the gimmicky but actually offers several excellent tips for "fancy chef tricks" that I'm more than happy to make use of. So enjoy! We had friends over for dinner and served it alongside far-more successful dishes: Roast Chicken, Roasted Potatoes and Chickpeas, Broccoli and Squash Medley and Steamed Artichokes. And white wine, of course, to wash it all down.

Garlic Aioli
adapted from The 4-Hour Chef

Place egg yolk, lemon, mustard, garlic and salt in a cup or mixing bowl (which you find easiest to use an immersion blender with). Mix well then, with the blender still on, pour in oils. That's it! The texture is amazingly creamy.

Links:

Jun 21, 2012

Lemon-Glazed Eggplant (or Chicken) with Stevia and Dijon


Summer's finally here! What do you crave when it's hot? I crave sour foods, like lemon -- one of the few fruits allowed on the body ecology diet and therefore one I've been using with increasing frequency. Another thing I've started doing is eating more animal proteins. What does this mean for the vegetarian, you might ask. Is he relegated to eating tofu and/or side dishes? Not at all! The beauty of having cooked (mostly) vegetarian for the past two years is that, when making something like chicken, I prepare two pans, side by side, with the same seasonings -- one of chicken and one of (in this case) eggplant. That means I get two dishes with one dish's worth of preparation. And the added bonus? An extra side dish for the omnivore (since I've basically doubled my vegetable intake).

As a side note, eggplant is not strictly allowed on the body ecology diet so if you're in stage one and don't want to risk it, by all means make only the chicken version. And, obviously, if you're a vegetarian, make only the eggplant. Serve with Mung-Bean Sprout Stir-Fry. Bon appetit!

Lemon-Glazed Eggplant (or Chicken) with Stevia and Dijon
inspired by Healthy Eats

Preheat oven to 375. Drizzle olive oil on a shallow roasting pan. Pepper eggplant slices (or chicken breasts). Set aside.


Zest 1/2 of 1 lemon. Segment and remove flesh from skin. Chop. Juice 2nd lemon. In a medium bowl, stir together zest, juice, stevia, mustard and thyme. Fold in lemon pieces, onion and garlic.

Spoon over eggplant (or chicken). Bake 30 minutes. Serve topped with parsley. Enjoy!

Edible Inspirations: